Step-By-Step Water Softener Installation Guide For DUMMIES
Water Softener Installation Tutorial
 STAGE 1: Decide Where to Install The Water Softener & Prep
First things first, you need to find a suitable place to install the softener machine. If you live in an old home that already has a softener installed then simply place the new one in the same location.
If, however, there isn’t an existing water softener in the home, think about the following considerations while deciding where it should go:
1. General location.
Do’s
For starters, a water softener must have the following conditions met:
![]() It needs to be located out of the way.
It needs to be located out of the way.
![]() Somewhere with easy access to the plumbing system.
Somewhere with easy access to the plumbing system.
![]() Enough space for things like servicing.
Enough space for things like servicing.
Typically places that meet all these criteria are places like the garage, basement or utility room.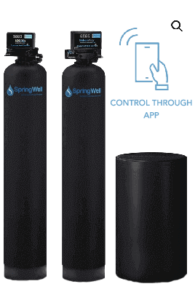
Dont’s
![]() Do not put the water softener in an area where it can get freezing cold. This can damage the unit and possibly even void your warranty.
Do not put the water softener in an area where it can get freezing cold. This can damage the unit and possibly even void your warranty.
![]() Avoid placing it where it will catch direct sunlight. This means putting it outside is a no-no.
Avoid placing it where it will catch direct sunlight. This means putting it outside is a no-no.
2. Check access to necessary plumbing hookups.
Even the most basic water softener needs a few basic plumbing requirements to work properly:
- Access to a drain like utility sink or floor drain.
- It will also need a nearby electrical receptor that is not controlled by a switch. One that can adequately provide the needed amperage (check the provided manufacturer’s manual for full specifications).
3. Where to connect the pipes.
For softening a home’s entire water supply, install the softener before the water heater— this helps reduce sediment buildup in the water heater too.
STAGE 2: Plumb The Water Softener In
The vast majority of water softeners will come with a bypass valve that you must attach to the unit.
Some local plumbing codes require that you always install a shutoff valve to the pipes so that the softener can be easily turned off in the case of an emergency.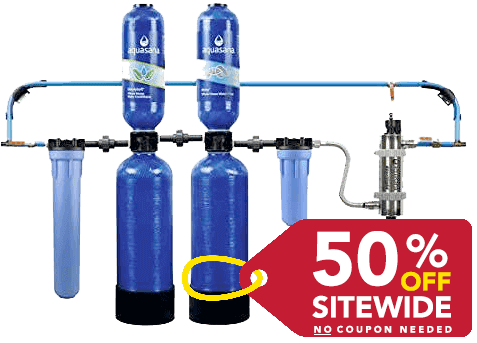
Find the bypass valve that comes with the softener and install it using the manufacturer’s instructions.
1. Clear and sweep the area.
Place the softener unit where it will end up going so that you can measure the connecting pipes.
Make sure you pay attention to the orientation of the unit. Remember that the OUTLET should go toward the water heater while the INLET should be attached to the water supply pipe.
2. Shut off the house water supply valves.
Find the main water supply to your home (including the water heater’s water supply) and turn it off.
Open the bottom floor hose bibbs or faucets so that all the water is drained from the pipes.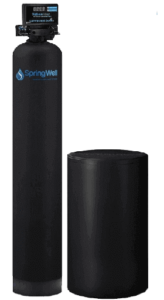
3. Cut into the water supply line.
Use a pipe cutter to cut into the water supply line. Then install elbow fittings that will let you run two lines into the outlet and the inlet ports of the bypass valve.
Again, it’s important to pay close attention to the orientation.
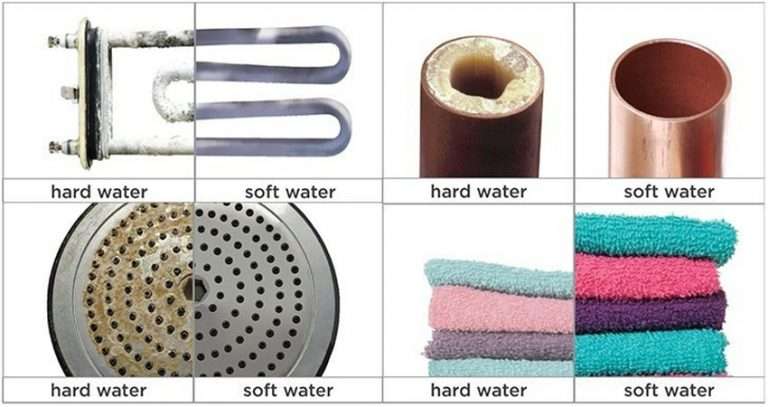
Hard water should be running directly into the softener’s inlet. While soft water will run out in order to supply the home with soft water.
4. Cut and install the pipes.
Cut and install the pipes that lead water directly to the bypass valve.
Then solder all the nipples and fittings before you attach it to the bypass valve. Be careful that the heat from soldering does not damage its plastic.
After this, find the compression fittings supplied and attach the pipes to the unit.
5. Clamp the drain hose to the softener.
Run the drain hose to a drain or utility sink so that any water is completely drained. The drain line should not be more than 10 feet above the floor.
Check the manufacturer’s guide for more specific instructions.
6. Connect the brine tank’s overflow tube.
Connect the brine tank’s overflow tube then follow the manufacturer’s instructions for any additional assembly. However, note that the overflow discharge should be positioned lower than the overflow fitting.
7. Set the bypass valve to the “bypass” position.
Once this is done, turn on the water to run through the water softener. Let it run for a few minutes so that any sediments or air can be flushed out.
Re-open the heater valves and restore its power.
8. Set the valve to the “Backwash” position.
Once set, plug in the unit to the electricity outlet, press and hold the “Regenerate” button until the valve moves to backwash.
9. Partially open the inlet control.
All looking good so far? Great, now partially open the inlet control slowly by turning the bypass valve very slowly.
The idea is that you bleed off any air build up in the device.As soon as the water starts to flow steadily into the drain, the unit will stop sputtering.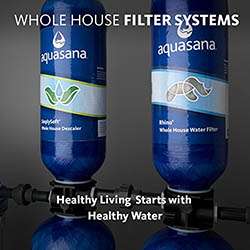 Sputtering stopped? Now you can fully open the outlet and inlet bypass. Fill up the tank salt and with water as instructed by the manufacturer.
10. Regenerate – again.
If everything is looking good, now you can press the “Regenerate” button again. Allow the unit to cycle to its next stage and then repeat until you see that the “Service” setting is reached.
The final step is to program the controls and use as normal.
You did it! You completed a successful water softener installation 🙂
Best Water Softeners
|  |
| Treats hard water UP TO 25 ppm (low to medium low hard water). | Treats hard water OVER 25 ppm (medium to extremely hard water). |
| Does NOT require electricity. | Requires electricity if using the electronic head monitor. |
| Control Your System With An App:? NO | Control Your System With An App:? YES |
| - Powerful salt-FREE water softener. - 1,000,000 one million gallon capacity. - Aquasana Rhino exceeds NSF standards. - Treats hard water WITHOUT salt. - Removes chlorine, bacteria, iron, sulfide, manganese, mercury, lead etc. - Includes pre-filter, copper-zinc and carbon filtration stages with standard fittings. - 90-Day Pure Satisfaction Guarantee. - Limited 10 year warranty. | - Powerful salt-BASED water softener. - 1,000,000 one million gallon capacity. - Also includes a multi-stage filter. - Easy installation (inside or outside) - Sufficient for 1-3 bathrooms (options for 4-6 and 7+ bathrooms also available). - 6 month money back guarantee. - Limited lifetime warranty. |
| $$$ Ships to US and CA. | $$$ Ships to US, CA and Puerto Rico. |
| Sale prices automatically applied by clicking this link. | |
| If there is *no* sale try coupon code: AQGEEK50 | Coupon Code: GEEK5 |
 |  |